


How to build a TV into the wall if the renovation has already finished?
If you want to install a water-resistant TV in the bathroom or build the TV into the wall of the living room, but the renovation has already finished, do not get upset. You can carry out a professional installation even after finishing the renovation upon compliance with several conditions.
The key condition is the opportunity to connect the TV to the power supply. If there is access to the power network near the chosen place or behind the wall, then the TV can be installed.
The possibility to lead an antenna cable to the intended installation place is important, but it is not required for modern Smart TVs, since you can watch terrestrial channels through applications by connecting the TV to a Wi-Fi network wirelessly.
How to build a TV into the wall, where to start?
1. Carefully study the drawing of the installation box that comes with the TV. You can also familiarize yourself with this drawing BEFORE buying a built-in water-resistant TV by going to the Files for download section in the product card.
You will need 3 main dimensions of the box:
- external width,
- external length,
- external depth.
For clarity, we have highlighted the necessary dimensions in red blocks in the drawing of the Ultra HD (4K) LED TV built in the AVS430SM (Magic Mirror) mirror.
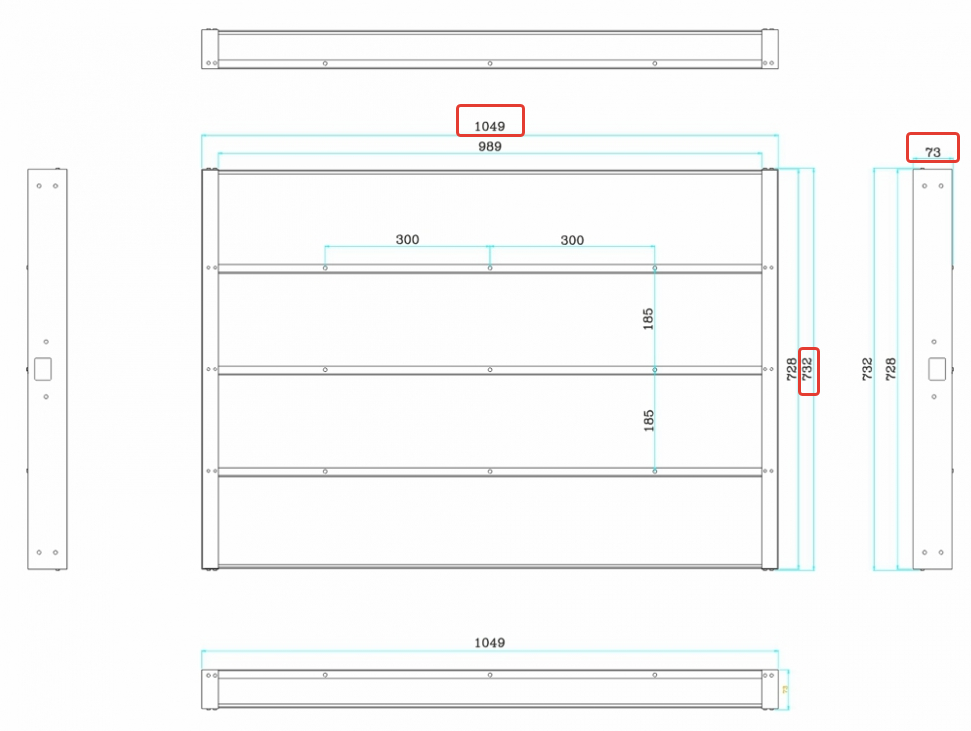
It is necessary to add 2 mm to these dimensions so that the box passes through the opening.
After looking through the drawing of the device itself, you can think in advance about the installation place of the built-in TV and choose the maximum screen size that is suitable for the space you have chosen.
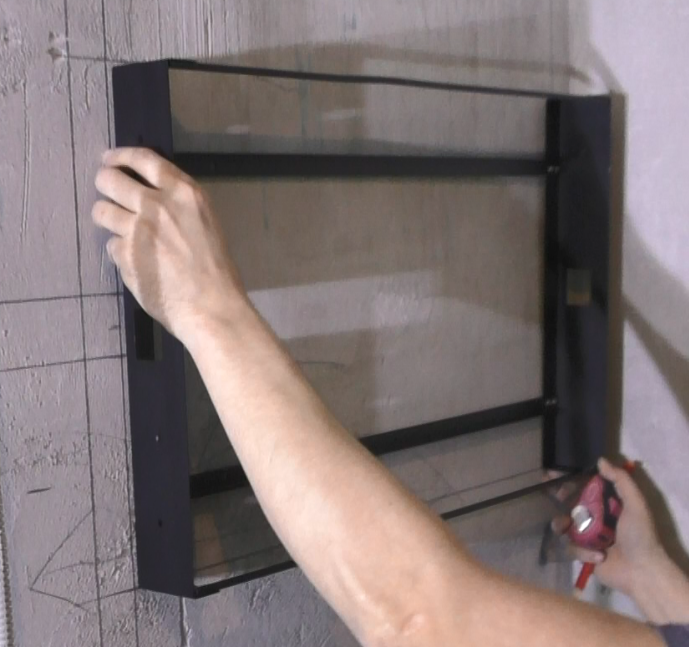
2. The next step is the assembly of the box. Before marking the dimensions for the opening on the wall, it is better to assemble the box and double-check the parameters by attaching it to the installation site.
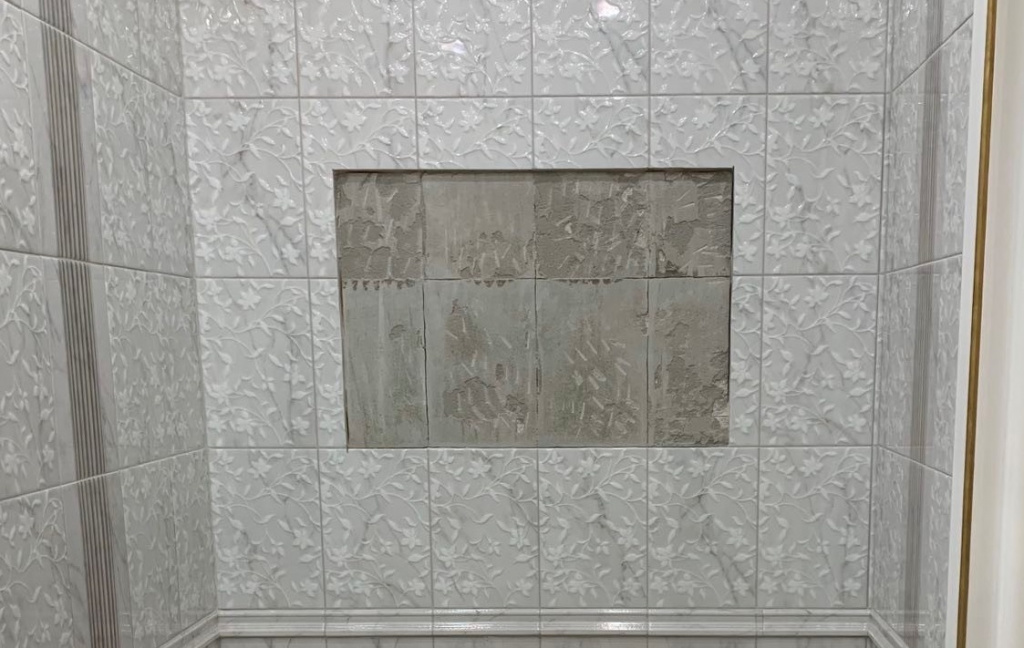
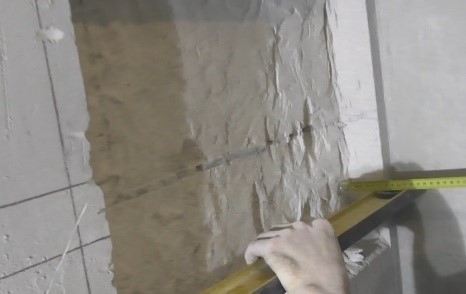
3. Make markings on the wall. Use a laser or regular level and mark the exact boundaries of the future niche for the TV on the wall. It is necessary to mark the wall according to the size of the box plus 2 mm: 1 mm on each side so that the mounting box enters the opening without effort and kinks. After marking, cover the furniture, walls and floor with construction film. We recommend that you additionally protect the plumbing and flooring in the room from accidental drops of tools or large fragments of tiles.
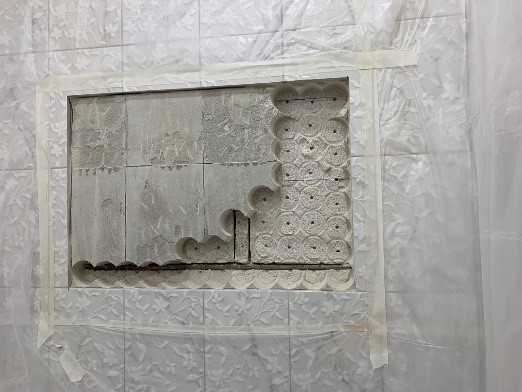
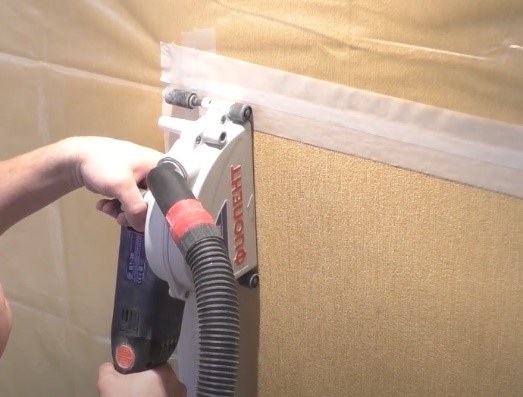
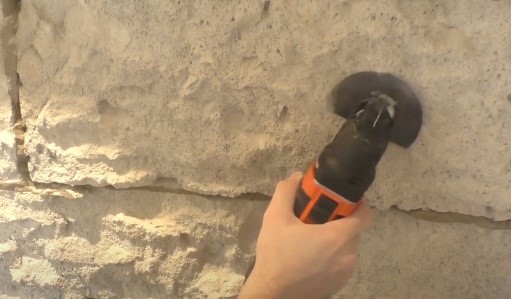
4. If you install a built-in TV in a tiled bathroom, the tile must be removed within the marked boundaries. The tile can be cut with a diamond disc of an angle grinder or a renovator (multi-function tool) with a special attachment.
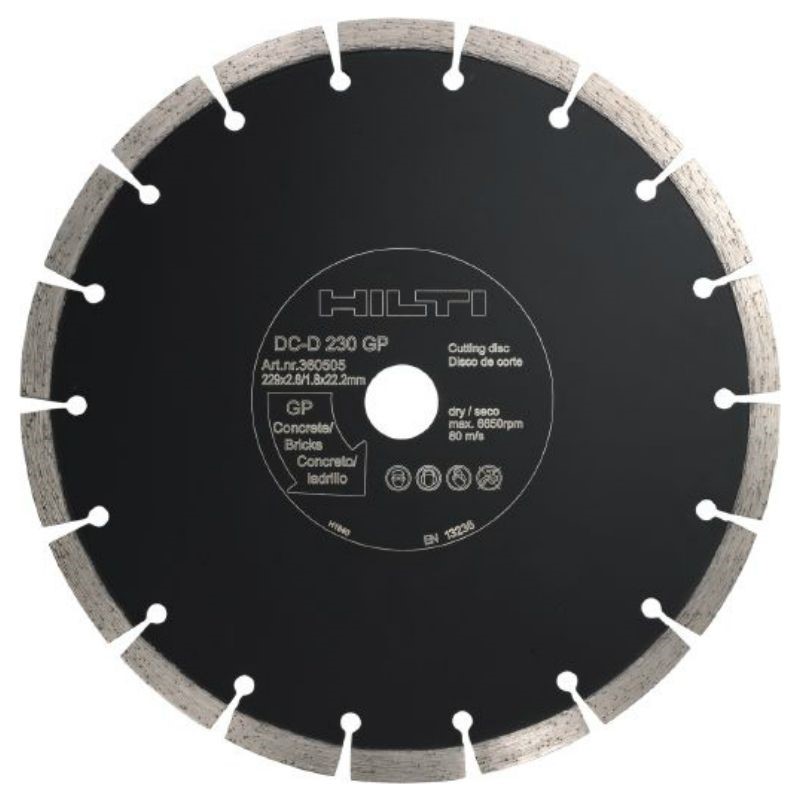
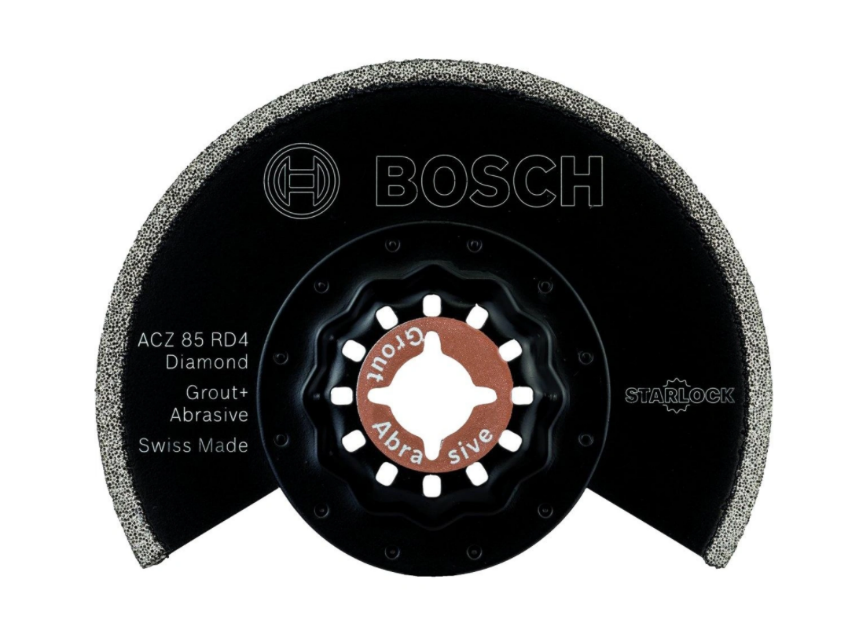
Only after making cuts around the entire perimeter, you can beat off the tile at the installation site of the TV, so as not to chip anything unwanted. Before chipping the tile, make sure that the cut is deep enough, i.e. made to a depth slightly greater than the thickness of the tiles.
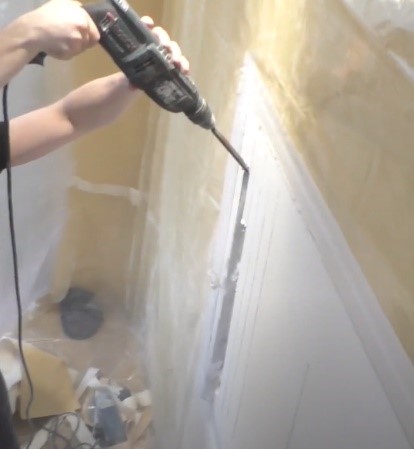
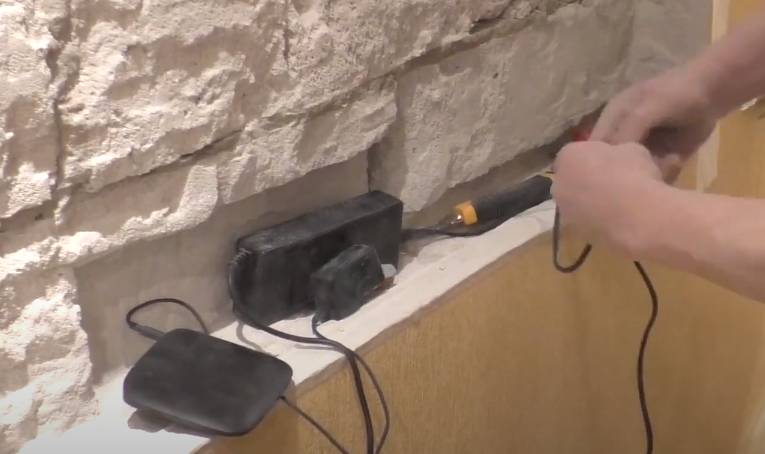
5. Now you need to deepen the opening for the installation box. Depending on the material of the wall, different tools can be used. As a rule, the TV is installed in a wall made of aerated concrete, which is easily cut by multi-function tool, you can also use a rotary hammer drill with a round head or a wall chaser. The depth of cut must not be less than the depth of the installation box.
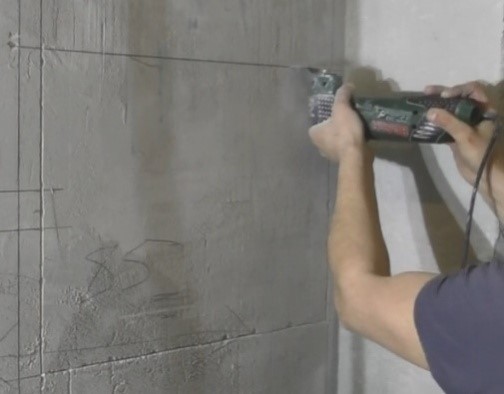
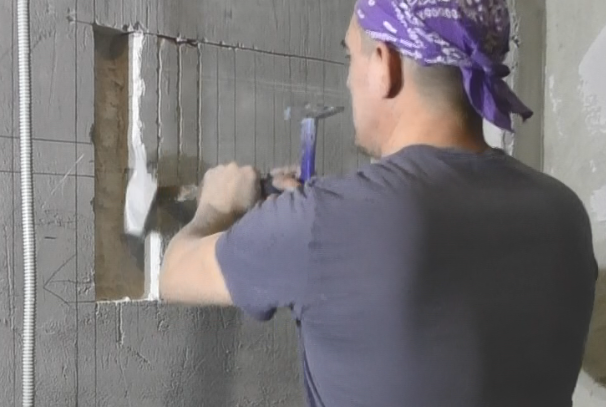
After the cuts, pieces of concrete or foam block can be chipped off with a rotary hammer drill or an ordinary chisel.
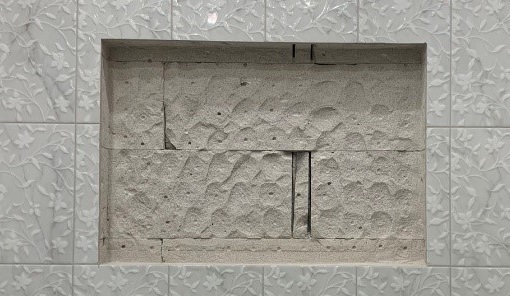
Now the installation opening must be smoothed out so that there are no distortions of the box.
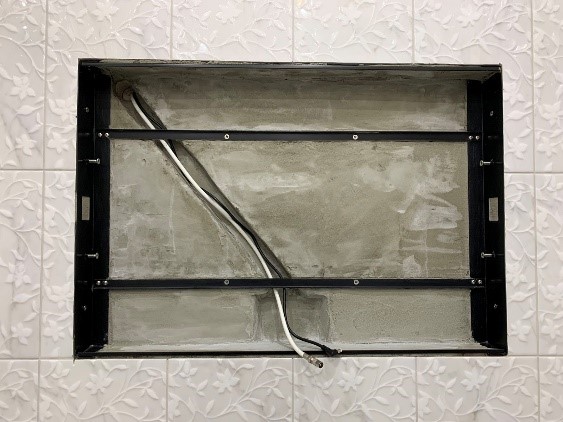
6. Bring out the wires and make niches for interfaces and peripheral equipment, if necessary.
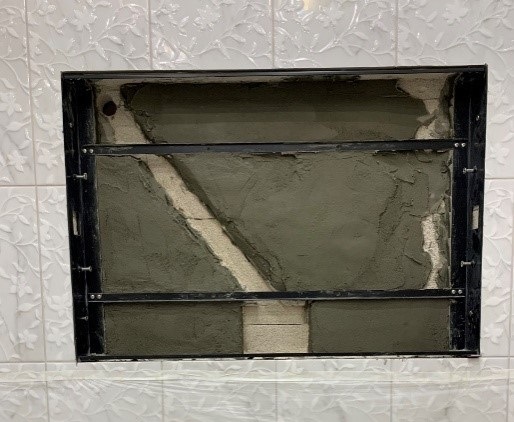
7. The next step is the installation of the box. If the opening is too deep, you can level the back wall with plaster. The box must be fixed on the sides, but if you install a big-screen TV, then it would be appropriate to fix it to the back wall.
8. Now you can install the TV. For damp rooms, it is important to coat the rear edge of the device with sealant so that moisture does not enter the niche. The TV connectors are protected by a special cover, but it is better to use a sealant to avoid water accumulation in the niche.